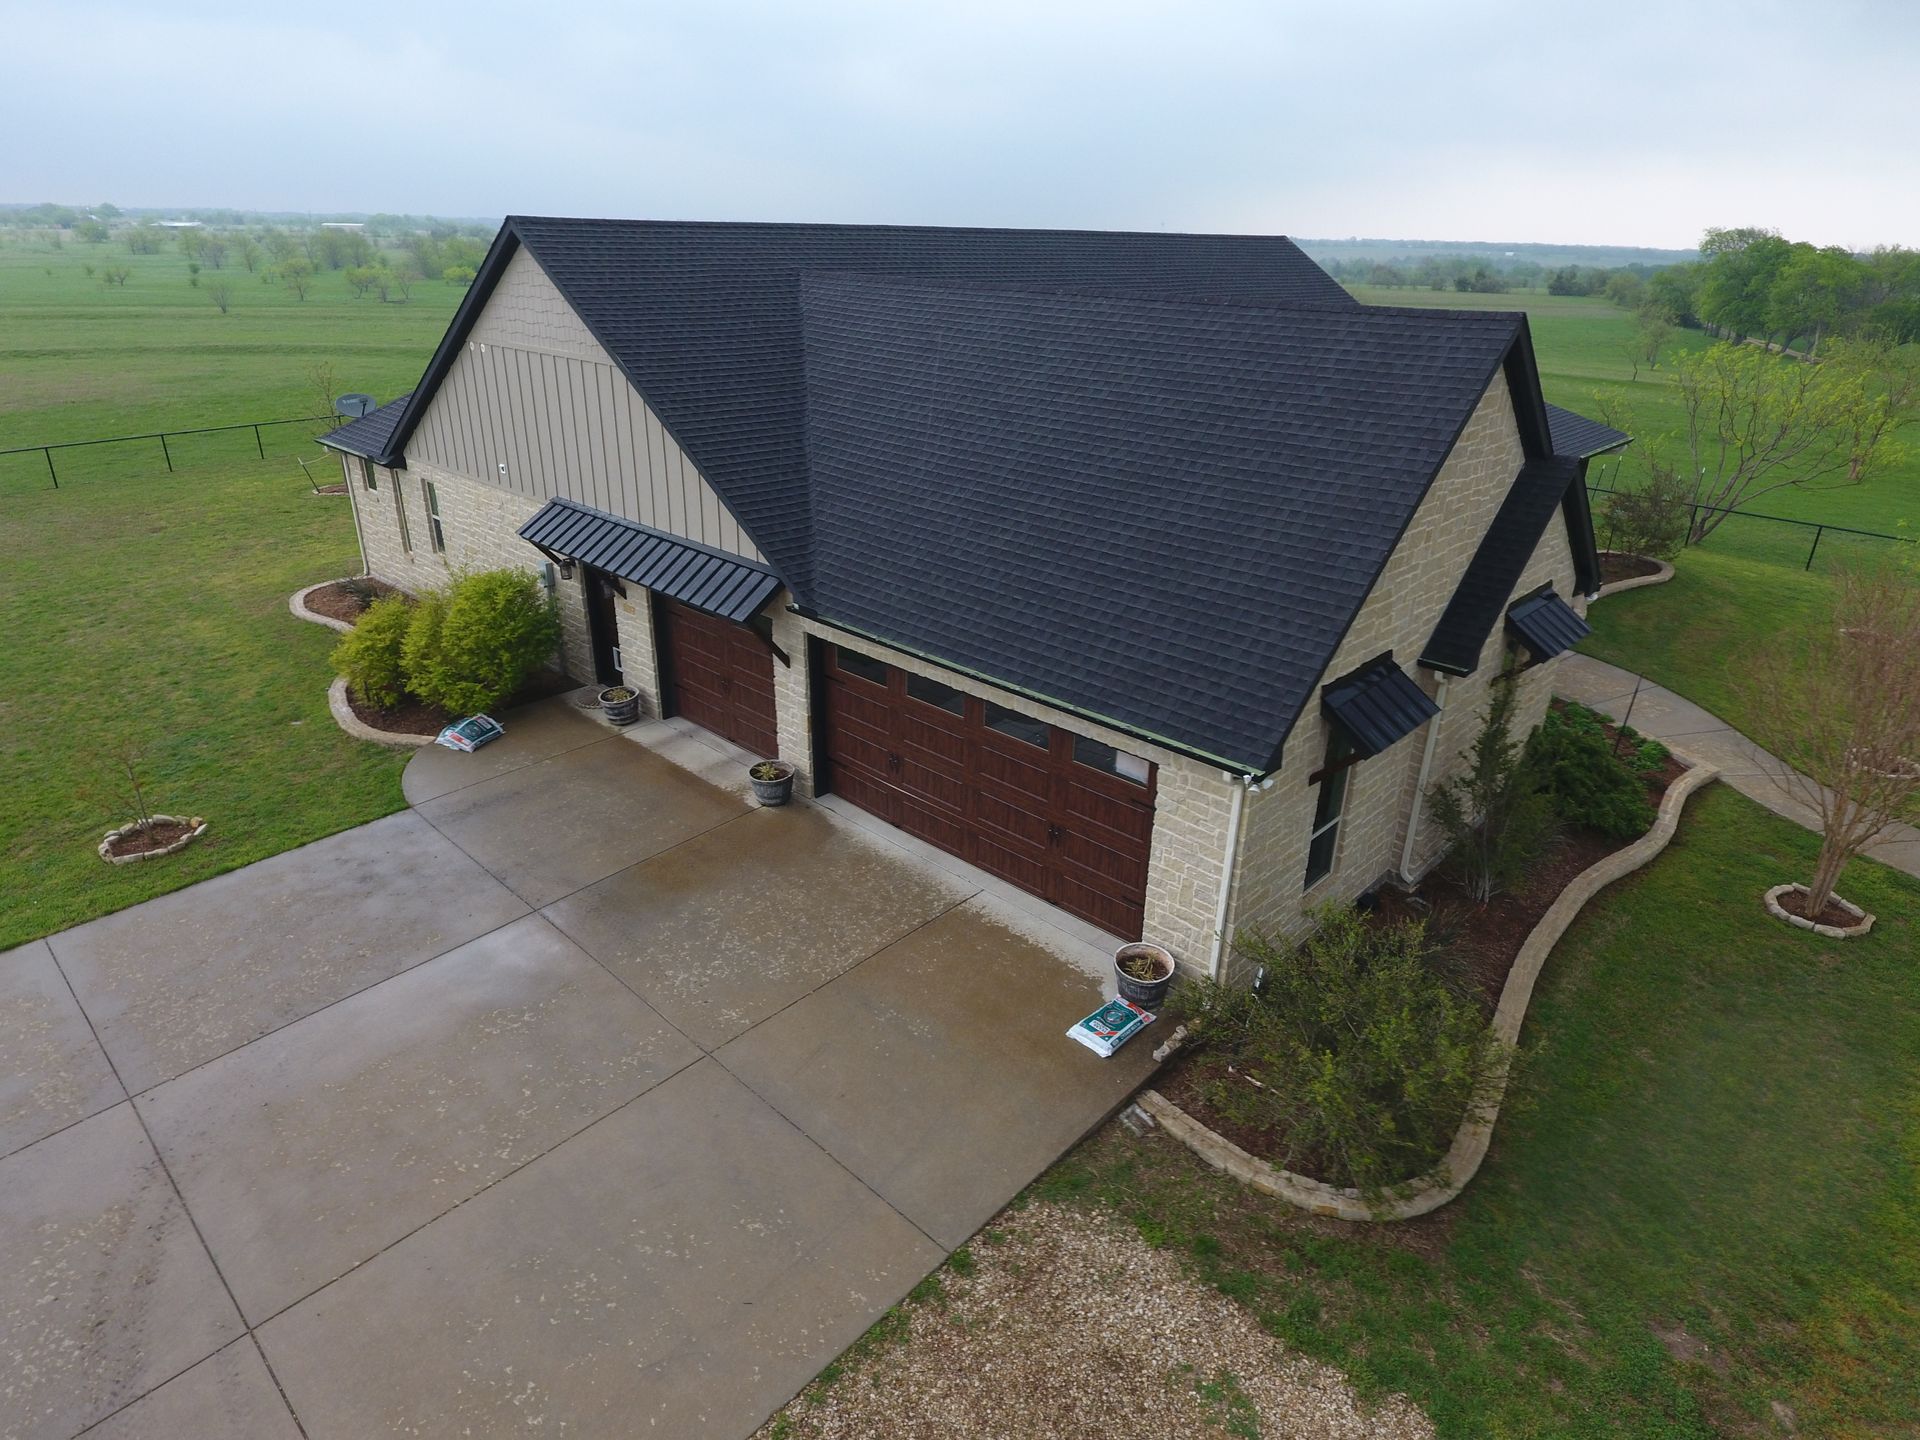
6 Roof Areas North Texas Homeowners Should Check After Summer Before Cooler Weather Arrives
Walk around the exterior and look for:
- Missing or visibly lifted shingles
- Uneven rooflines
- Granules collecting heavily near downspouts
- Damaged flashing you can see safely from the ground
- Debris still sitting in valleys
- Gutters pulling away or holding water
Then check the attic or upper interior if safely accessible:
- Water stains on decking or rafters
- Darkened wood
- Damp insulation
- Daylight where it should not be visible
- Musty odor after rain
- Previous repair patches and where they were made
Our free roof inspection service includes shingles, flashing, decking, attic ventilation, drainage, and interior warning signs, with photo documentation so you can compare what you noticed with what the inspector finds.
| Inspection Result | Targeted Repair May Make Sense When | Larger Scope May Be Needed When |
|---|---|---|
| Hail damage | Limited, repairable damage is isolated | Impact damage is widespread across multiple slopes |
| Lifted shingles | Small number of compatible shingles can be repaired | Wind failure is widespread or shingles are brittle |
| Flashing failure | Detail can be rebuilt without disturbing large roof areas | Water has damaged surrounding decking or multiple transitions |
| Moisture intrusion | Entry point is isolated and decking remains sound | Decking, insulation, or multiple roof areas are affected |

The better approach is to combine age with condition, repair frequency, storm history, and moisture findings. Our article on four roof inspection findings that lead to bigger repairs explains why lifted shingles, failed flashing, hail damage, and hidden moisture should be judged by how they are progressing, not only by how old the roof is.
Ask these questions before accepting either recommendation:
- What exact condition makes restoration possible or impossible?
- Is the decking sound?
- How many slopes are affected?
- Is there hidden moisture?
- Are the existing shingles flexible enough to work around safely?
- What repairs must happen before restoration?
- How much useful life are we realistically trying to gain?
- If we restore now, what would still trigger replacement later?
Those questions turn a sales estimate into a roof-condition discussion.
What Does Restoration vs. Replacement Cost in North Texas?
For estimated market context, asphalt shingle replacement in North Texas is commonly planned around $300 to $600 per roofing square installed, with one roofing square equal to 100 square feet of roof surface. For broader planning context, a typical Texas roof replacement can fall in the $8,000 to $20,000 range, depending on roof size, material, pitch, design complexity, access, and the amount of work required once the existing system is opened up.
Those numbers are useful for early budgeting, but they should be treated as planning ranges rather than a price for a specific home. Roof surface area is different from living square footage because pitch, overhangs, garages, porches, valleys, and roof geometry all change the actual amount of roofing material and labor involved.
Homeowners can collect useful information without climbing onto the roof. Use binoculars or a phone camera from the ground, and inspect the attic or interior only where access is safe. Wet roofs, steep slopes, and hidden weak decking make rooftop inspection a job for trained professionals.
What to Check From the Ground
- Shingle tabs that appear missing, raised, shifted, or visibly damaged
- Flashing that looks bent or separated from adjacent materials
- Debris concentrated in roof valleys or behind penetrations
- Sagging gutter sections, disconnected downspouts, or water marks on fascia
- Tree branches touching the roof or broken limbs resting on it
- Uneven roof planes or a localized dip that was not present before
What to Check Inside the Home or Attic
- New stains on ceilings, walls, rafters, or roof decking
- Damp insulation or a musty odor after rain
- Daylight showing through an unexpected opening
- Rust around fasteners, vents, or metal components
- Peeling paint near the ceiling line or around penetrations
When to Request Professional Help
Write down when each sign appears, and take photos from the same position for future comparisons. If you see an active leak, significant displacement, or storm debris, move belongings away and request professional help rather than attempting a rooftop patch.
After a storm, the same checklist can help you describe what happened, but visible damage may represent only part of the condition. Swift Roofing & Designs offers storm-damage inspections when wind or hail is the likely cause. For an active opening or urgent water entry, emergency roof repair may be the safer route.

A North Texas roof may look intact while heat, ultraviolet exposure, wind, and storms weaken vulnerable details. The transition from September heat into cooler weather is a useful time to look for changes before repeated rain finds them. A fall roof inspection should do more than count missing shingles because many leaks begin around edges, penetrations, drainage paths, and transitions. The goal is to identify what is sound, what needs care, and what deserves repair before winter.
Homeowners in Royse City, Rockwall, Fate, and Greenville can use this guide for a safe visual check without replacing a professional assessment. Stay on the ground or use accessible interior spaces unless you have proper training, fall protection, and safe access. Photograph anything that looks different and note its location for future comparison. If you see active leaking, loose materials, sagging, or suspected impact, schedule a professional roof inspection instead of walking onto the roof.
What North Texas Summer Can Leave Behind on a Roof
Heat can accelerate aging in sealants, rubber components, and asphalt materials as roof components expand and contract at different rates. Summer storms may lift shingle edges, move flashing, drive debris into valleys, or loosen drainage without causing an immediate drip. The Insurance Institute for Business & Home Safety notes that natural weathering changes roof coverings over time and recommends attention to vulnerable details such as flashing. Cooler weather does not create every roof problem, but it can expose earlier damage.
A useful
roof inspection checklist follows water from the highest roof surfaces to the ground. Check field shingles first, then transitions, penetrations, valleys, eaves, drainage, and accessible interior evidence. The National Roofing Contractors Association recommends fall and spring checks for cracked or curling shingles and debris-filled gutters in its homeowner roofing guidance. The six areas below turn those principles into a practical sequence.
| Inspection area | Look for | Why it matters |
|---|---|---|
| Shingles and roof edges | Lifted tabs, cracks, missing pieces, exposed fasteners | Openings can admit wind-driven rain and allow further lifting |
| Flashing | Gaps, movement, corrosion, failed sealant | Transitions concentrate water and often leak before the roof field |
| Vent pipes and penetrations | Split boots, loose collars, deteriorated seals | Small failures can send water along decking or pipes |
| Valleys | Debris, displaced shingles, damaged metal, staining | Valleys carry concentrated runoff during heavy rain |
| Gutters and eaves | Overflow marks, loose sections, damaged drip edge | Poor drainage can wet fascia, soffits, and roof edges |
| Attic and ceilings | Damp insulation, stains, odors, visible light | Interior clues may reveal leaks that are difficult to see outside |
1. Shingle Fields and Roof Edges
Begin with the broad roof surfaces and perimeter edges because summer wind and heat can create subtle changes there. From the ground, compare slopes in consistent light and look for tabs that sit higher than neighboring shingles, irregular shadow lines, missing corners, bare patches, or pieces in the yard. Granules in a gutter are not automatically proof of failure, but a concentrated loss pattern on one slope or below an impact area deserves closer evaluation. At the rake and eave edges, check whether the first courses remain flat and whether metal edging appears straight and secure.
What Homeowners Can Check Safely
Use binoculars or a camera with zoom rather than climbing a ladder for a better angle. Record these observations:
- Lifted or creased shingles that may no longer seal correctly
- Missing tabs or corners that expose the course below
- Dark, shiny, or bare spots where protective granules are reduced
- Exposed or backed-out fasteners that create a direct water path
- Wavy or sunken areas that may indicate decking movement
- Damage concentrated on one slope after wind or hail
One changed shingle may justify a focused repair, while widespread curling, brittleness, or granule loss can point to broader aging. Do not press down lifted shingles or apply general-purpose caulk from a ladder because the wrong repair can trap water or damage surrounding material. Swift’s roof repair service covers localized shingle, flashing, and leak problems when the rest of the roof remains serviceable. A roofer should confirm whether the visible symptom is isolated or part of a larger attachment or underlayment issue.
2. Flashing Around Chimneys, Walls, and Skylights
Flashing directs water away from places where the roof meets a wall, chimney, skylight, or change in plane. During a roof flashing inspection, look for metal that is lifted, bent, rusted, separated, or buried under aging sealant. Step flashing should work with the shingles, while counterflashing protects the assembly’s upper edge. Sealant may be part of a detail, but it does not replace correctly lapped metal.
Pay attention where a roof edge meets a wall because runoff needs a clear route into the gutter, not behind siding. IBHS explains that flashing should be inspected regularly and that one repair should not create problems elsewhere. Rockwall homes with chimneys and Royse City or Fate homes with multiple transitions may have several details to evaluate together. Interior staining near a wall, chimney, or skylight deserves documentation and diagnosis before more sealant is applied.
3. Vent Pipes, Boots, and Other Roof Penetrations
Plumbing vent pipes, exhaust vents, satellite mounts, and other penetrations interrupt the roof surface, so each requires a detail that sheds water. Rubber pipe boots can split, harden, or pull away after sustained heat, while metal collars and fasteners may loosen or corrode. Look from the ground for tilted caps, gaps, cracked rubber, exposed nails, or sealant that has separated from the surrounding material. A small opening may leak only during wind-driven rain, making the source appear far from the ceiling stain.
Do not assume the nearest visible pipe is automatically responsible for an interior mark because water can travel along the roof deck or framing. Note the stain’s position, whether it changes after rain, and whether dampness appears around the pipe inside the attic. Swift’s guide to roof vent leaks after a North Texas summer explains how heat affects boots, flashing, and seals. If a boot or penetration detail has failed, a compatible repair should restore the layered water-shedding assembly rather than simply coating the area with caulk.
4. Valleys and Other Water-Flow Paths
A roof valley inspection matters because valleys carry runoff from two adjoining slopes. Leaves, twigs, seed pods, loose granules, and roofing fragments can slow that flow and hold moisture against shingles or metal. North Texas downpours can then force water sideways beneath materials that perform normally when the path is clear. Homes near mature trees in Greenville or Rockwall may collect debris faster, but open lots can still receive windblown material.
Signs a Valley Needs More Than Debris Removal
Ground-level photographs may reveal a blockage, but they cannot always show the condition beneath it. Ask for professional evaluation if you notice:
- Shingles that are cracked, missing, lifted, or cut unevenly along the valley
- Exposed valley metal that is bent, punctured, corroded, or displaced
- A persistent dark line that remains after surrounding areas dry
- Debris packed under shingle edges rather than resting loosely on top
- Ceiling or attic staining that tracks below a valley
- A soft, low, or visibly distorted section along the water path
Loose surface debris may be a maintenance issue when the valley materials remain secure and undamaged. A split shingle, damaged liner, exposed fastener, or moisture below the assembly moves the recommendation toward repair. Avoid using a pressure washer or aggressive tool because it can dislodge granules and force water beneath the roofing. When access is unsafe or the valley design is complex, include the area in a professional
fall roof inspection.
5. Gutters, Downspouts, and Eave Edges
Gutters are not the roof covering, but they affect how quickly runoff leaves the eaves and moves away from the house. Check for standing debris, overflow marks, sections that pull away, water staining on fascia, loose downspouts, and discharge points that send water back toward the foundation. Also inspect the visible roof edge for damaged drip edge, exposed wood, peeling paint, or soffit staining. IBHS advises homeowners to keep gutters and downspouts secure and free of flow-restricting debris, a principle that remains useful before fall rain.
Runoff patterns matter more than whether a gutter looks clean from one angle. Water behind a gutter may indicate a roof-edge or flashing problem, while water over the front may point to blockage, inadequate pitch, or unusually concentrated flow. Homes with long roof runs or multiple upper slopes may deliver more water to one lower section than expected. Clear accessible debris safely, then arrange an inspection if overflow continues or if fascia and soffit materials show moisture damage.
6. Attic, Ceilings, and Interior Moisture Clues
The interior check can reveal a problem that is not obvious from outside. On a dry day, use a flashlight in an accessible attic and look for dark decking, damp insulation, rusted fasteners, matted dust trails, mold-like growth, or daylight entering where it should not. On ceilings and walls, note stains, bubbling paint, softened drywall, peeling tape, or musty odors near roof transitions. Take photographs and mark the approximate exterior area, but remember that water may travel before it becomes visible.
Ventilation and condensation can imitate a roof leak, so diagnosis should consider weather, temperature, and where moisture appears. Widespread dampness or rusty nails may suggest an airflow or condensation issue, while a localized track after rain may point to a roofing detail. Do not disturb suspected microbial growth, wet electrical components, or unstable attic materials. If moisture is active, protect belongings below the area and request timely leak diagnosis and roof repair before cooler weather complicates drying.
Decide Whether Maintenance, Repair, or Monitoring Comes Next
The purpose of a checklist is not to turn every irregularity into a repair. It is to separate safe upkeep from conditions that affect water shedding, attachment, or structural performance. Use this practical decision sequence:
- Document the condition. Photograph the area, record when it appeared, and note recent wind, hail, or heavy rain.
- Check for active consequences. Look for moisture, movement, soft materials, overflow, or expanding stains.
- Identify the system involved. Decide whether the observation concerns surface debris, roofing material, flashing, drainage, decking, or interior moisture.
- Choose the least extensive action that solves the cause. Clean or monitor only when materials remain sound, and repair when a defect affects performance.
- Escalate urgent conditions. Active leaks, loose materials, sagging, tree impact, and storm openings need prompt professional attention.
| Finding | Likely next step | Do not rely on |
|---|---|---|
| Loose debris with sound materials beneath | Safe cleaning and monitoring | Pressure washing or unsafe roof access |
| One damaged shingle or failed penetration detail | Focused professional repair | Caulk as a universal fix |
| Repeated stains with no obvious source | Full leak diagnosis and documentation | Guessing from the stain location alone |
| Widespread brittle, curled, or displaced materials | Broader condition assessment | Replacing one visible piece without checking the system |
| Active leak, sagging, or storm opening | Prompt protective action and inspection | Waiting for the next rain to confirm it |
Swift Roofing & Designs currently provides free professional roof inspections for homes and businesses in Royse City and surrounding North Texas communities, including photos and a written recommendation. Repair pricing depends on access, material, affected area, hidden moisture, and whether adjacent components must be removed and restored. For outside market context, HomeGuide’s current roof inspection cost data and roof repair cost guide provide the national ranges summarized below. These external figures are not Swift Roofing quotes, guarantees, or fixed local prices.
Estimated 2026 Market Context
| Service or scope | Published market range | Common cost variables |
|---|---|---|
| Swift Roofing professional inspection | Free | Inspection purpose, access, and any separate testing requested |
| Standalone roof inspection | $100–$400 | Roof size, complexity, access, and inspection method |
| Minor roof repair | $150–$1,000 | Material, labor, repair location, and extent of damage |
| Repair involving water damage | $1,000–$6,000+ | Decking, insulation, interior damage, and affected area |
Frequently Asked Questions
When should North Texas homeowners schedule a fall roof inspection?
Schedule it after peak summer heat and before cooler, wetter weather becomes consistent. An inspection is also sensible after a significant wind or hail event, when new stains appear, or when roof debris is found in the yard. Acting before a leak becomes active usually gives the homeowner more repair and scheduling options.
Can I complete the entire roof inspection checklist myself?
You can safely inspect many areas from the ground, through windows, and inside an accessible attic. Avoid walking on steep, wet, brittle, or unfamiliar roofing surfaces. A professional should evaluate suspected damage, active moisture, loose materials, and details that cannot be seen safely.
Does one lifted shingle mean the roof needs replacement?
Not necessarily. One repairable shingle or small damaged area may need only focused work when surrounding materials and the roof deck remain sound. Replacement becomes more likely when deterioration is widespread, repairs cannot integrate reliably, or the system has broader age-related failure.
What information should I collect before calling a roofer?
Useful documentation includes:
- Photos of the exterior observation and interior stain
- The date the condition first appeared
- Recent wind, hail, or heavy-rain events
- Whether the mark grows only during certain weather
- Previous repair locations and available invoices
Any insurance claim or inspection records
This information helps the roofer compare symptoms with likely water paths and reduces guesswork during diagnosis.
Should roof repair before winter wait if there is no active leak?
Not every observation requires immediate work, but a confirmed defect should not be ignored solely because the ceiling is dry. Flashing gaps, split boots, lifted shingles, and blocked drainage can admit water only under specific wind and rain conditions. An inspection can determine whether repair, maintenance, or documented monitoring is reasonable.
How do Royse City, Rockwall, Fate, and Greenville conditions affect the checklist?
The six inspection areas remain the same, but the details vary by property. Open exposure can increase wind effects, mature trees can add debris, and complex rooflines create more valleys and transitions. A sound recommendation should follow the home’s documented condition rather than the city name alone.
Schedule a Fall Roof Inspection Before Small Problems Spread
A useful fall roof inspection should leave you with more than a list of imperfections. It should show which components still perform correctly, which areas need maintenance, and which defects could allow water into the system. Checking shingles, flashing, penetrations, valleys, drainage, and interior clues creates a complete picture of how the roof handles weather. That clarity makes it easier to plan roof repair before winter without paying for work the roof does not need.
Swift Roofing & Designs provides free professional inspections for homeowners in Royse City, Rockwall, Fate, Greenville, and nearby North Texas communities. We document the roof with photos, explain what we find, and recommend repair, replacement, or no immediate work based on the observed condition. Review our North Texas roof maintenance checklist for additional seasonal guidance. When you are ready for a documented assessment, request your free roof inspection before the next stretch of cooler, wet weather.
Free Professional Roof Inspection
Request a Roofing Quote
Blog Form
We will get back to you as soon as possible.
Please try again later.
More Posts Like This:
Choose Swift Roofing & Designs for Top Quality Roofing
Need a reliable roofer? We've helped countless clients protect their homes while saving time and money, and we’re ready to help you next.